Design Prototypes Fast with AI
Create a designed prototype in half a day, so you have more time to discuss color choices.
In a previous article, I mentioned that teams don’t always have a designer on hand and how sketching can help to get everyone on the same page.
But what happens when you need to build a completely new solution with multiple pages? When a designer is nowhere in sight, sketches can only take you so far. The process of drawing, erasing, and redrawing can quickly become a time sink. This was one of those moments when I felt a surge of gratitude for the new AI tools.
Before we dive into the design process, it’s worth noting that I laid the groundwork by organizing a mini-design sprint with some customers and stakeholders to nail down what we were actually trying to achieve. This helped us get a crystal-clear picture of our various personas and their needs.
I leaned on Uizard, which, in my humble opinion came out as the clear winner (I gave Figma AI a try but found the results rather disappointing). While you could also dabble with Lovable, Replit, and others—which are decent at churning out functional prototypes—they often drop the ball on visual aesthetics and demand precise input. Although Replit provides suggestions for additional features, I tend to steer clear of this path, as it can easily lead us down the “feature factory” rabbit hole, where we mistakenly equate a truckload of features with a superior design.
The beauty of Uizard is that you can upload screenshots of your current application, and it spits out designs with all their individual components neatly separated. I used this to capture the existing look and feel. While this works like a charm for tweaking existing pages, sometimes you need to think bigger, bolder. You can tackle this in two ways: the precise method, which keeps things aligned with your current designs, or the creative freeform method, which lets your imagination run wild.
The precise method—where you let Uizard generate each screen individually within your current project—works its magic from your uploaded screenshots or Figma designs. I lean towards this approach for smaller-scope opportunities where I already have a more solid solution in mind based on the problem at hand. It helps maintain focus and clarity.
The creative multi-screen method uses guided prompting to generate multiple screens based on identified needs and context. This approach is quite helpful for sparking ideas when you have rough requirements but haven’t nailed down the solution. The tool promptly generates an interactive prototype with additional design suggestions. I cherry-picked the most useful elements and parked the rest in the design proposal area for later consideration. About the quality of the results? It’s a tale of two projects, really. For one project, it was surprisingly spot-on! On the other, well, it was clear that the model wasn’t trained with example applications related to that genre.
With this designed prototype in hand, I can now validate ideas with customers and stakeholders while also getting the thumbs-up (or constructive criticism 😬) from the product team on feasibility.

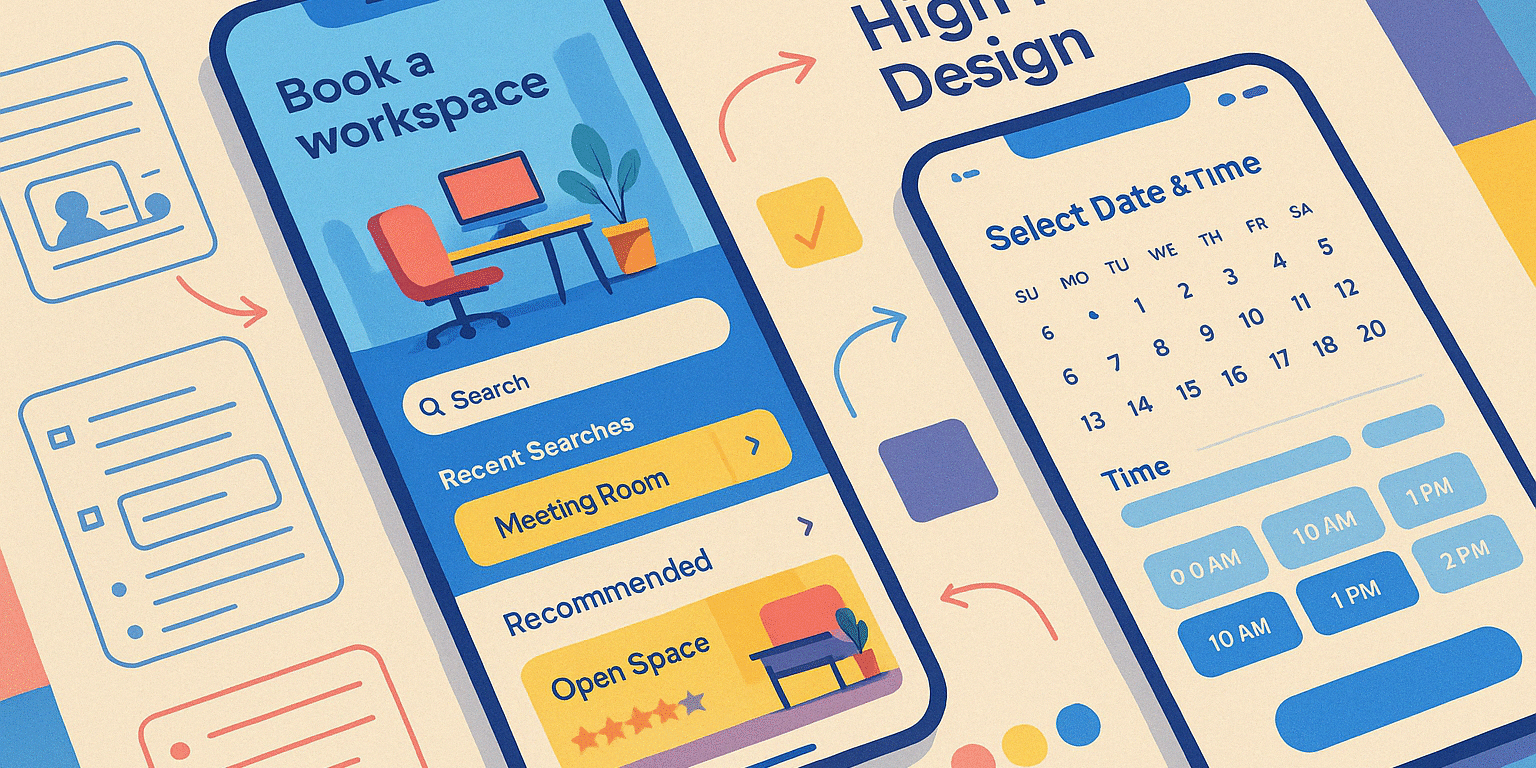
Example project I generated in less than 5 min